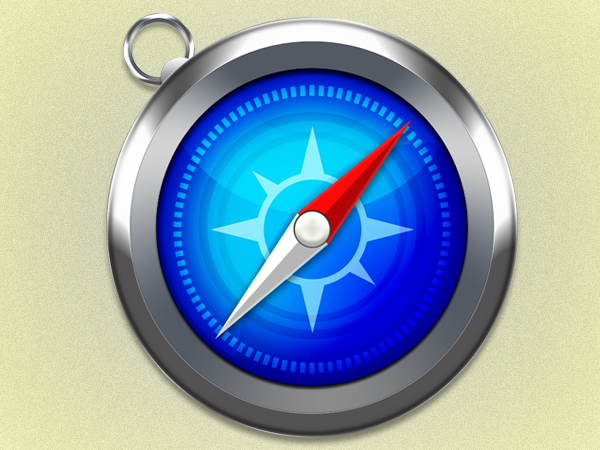
Learn how to create a detailed Apple Safari icon in Photoshop. This tutorial will show you how to create shapes and use different layer styles to create effects.
Preview of Final Results

Apple Safari Icon Photoshop Tutorial
Step 1
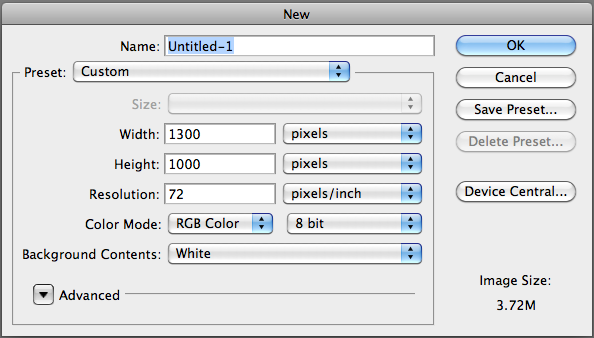
Open up a new Photoshop file by going to File > New or by pressing Command/CTRL + N. For the purpose of this tutorial, I'll be using a large document (1300 x 1000), but you can chose any size you please.
Step 2
Go to Layer > New > Background from Layer and name the layer "Background."

Step 3
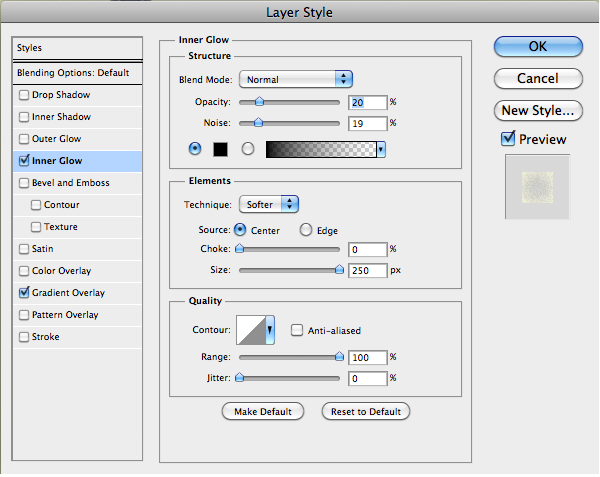
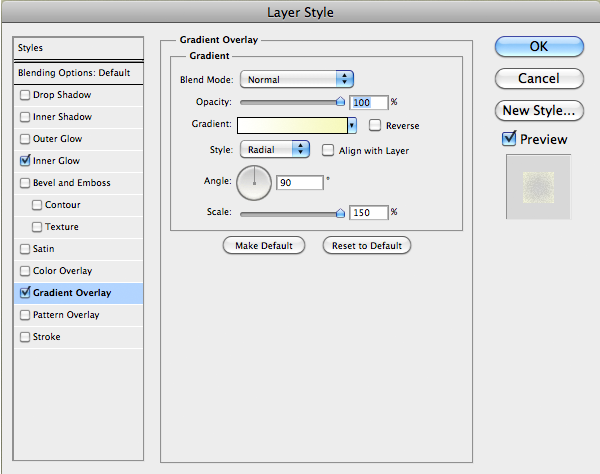
Next go to your Layer Styles tool by either double clicking your "Background" layer or by going to Layer > Layer Style > Blending Options. Once your Blending Options panel is open, apply the following settings:
Step 4
When you're done adding effects to your "Background" layer, you should have a nice looking gradient with some noise.

Step 5
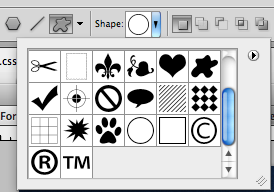
Next, it's time to start working on the safari icon itself. We'll start by selecting the Circle Thin Frame tool (you can find this tool by going to Custom Shapes Tools > Circle Thin Frame tool).
Step 6
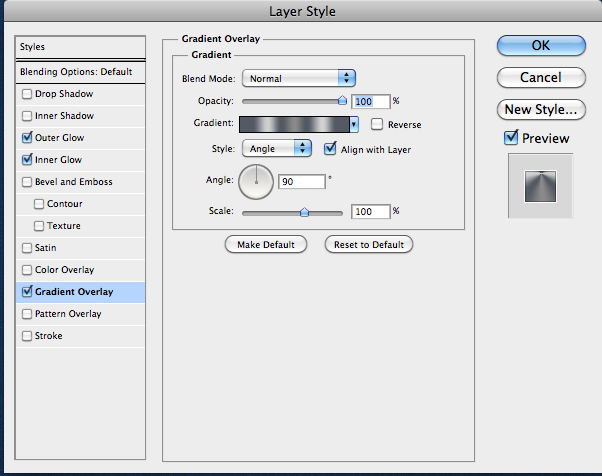
After you've selected the Circle Thin Frame tool, click and drag your mouse (while holding the Shift key), and make a fairly small and round circle. This will be our hoop ring. You don't have to name this layer, but I called it "Outer Ring". Double click this layer and enter the following:
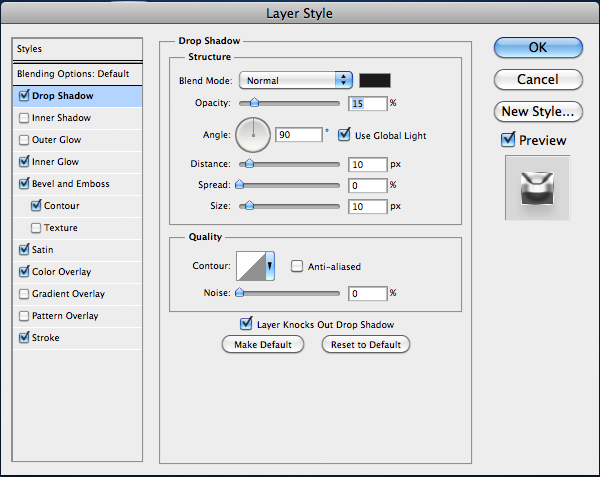
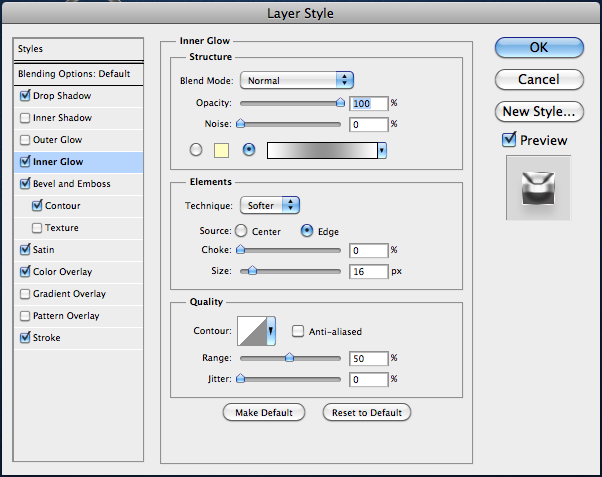
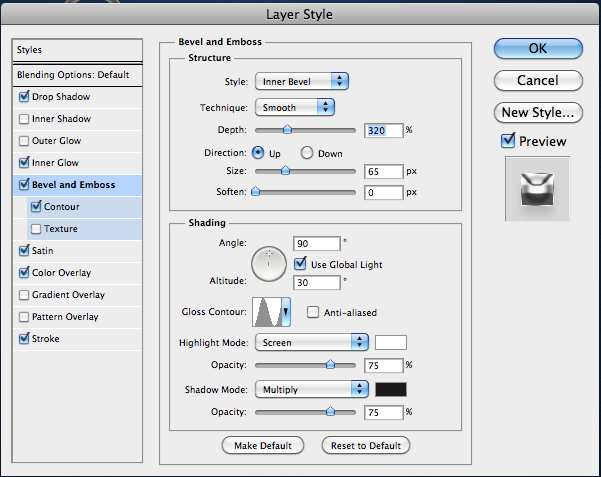
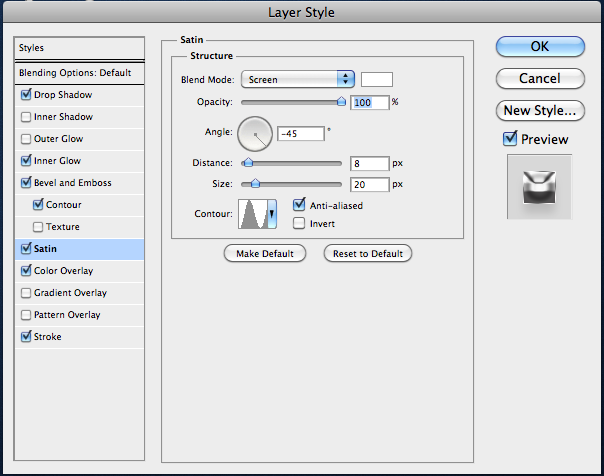
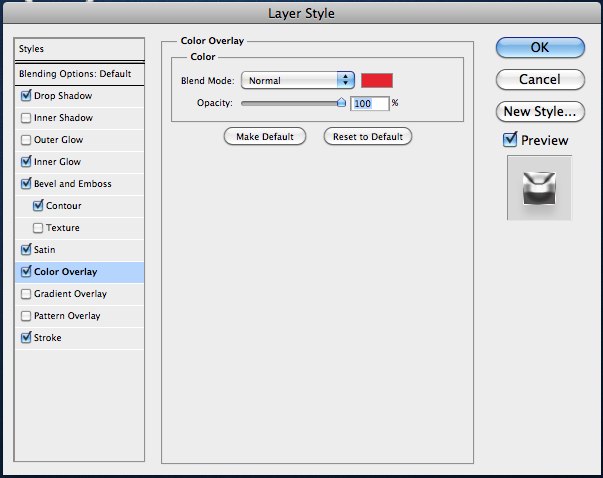
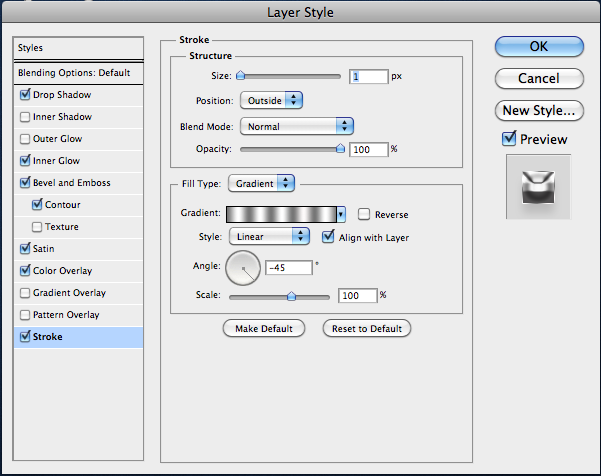
Step 7
Now that you've added some cool effects to your loop ring, click New Style in your Layer Styles window. This will save this effect so when you use it in a few minutes, you won't have to add the effects again. You can name this effect anything you'd like but make sure the "Include Layer Effects" option is clicked.

Step 8
Next we're going to duplicate our "Outer Ring" layer, rename it "Inner Ring", and shrink it so it fits perfectly inside the previous layer. Then, add the following effects in your Layer Styles window: before saving it, save it as a New Style like in the previous step.
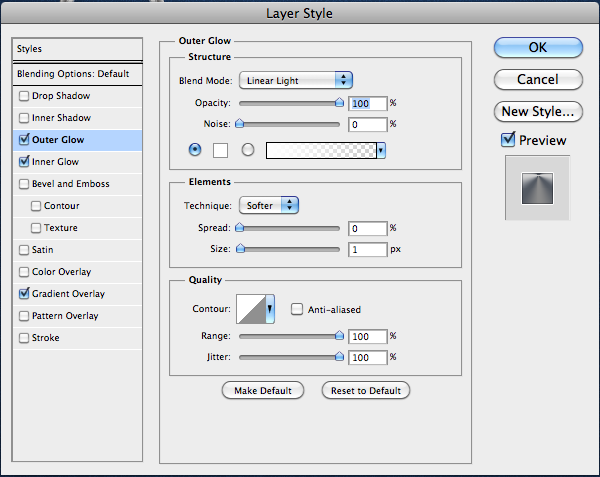
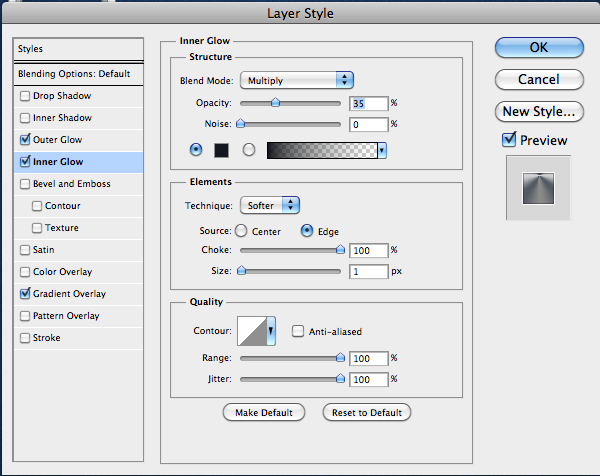
Step 9
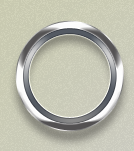
You should have a nice little hoop ring now.
Step 10
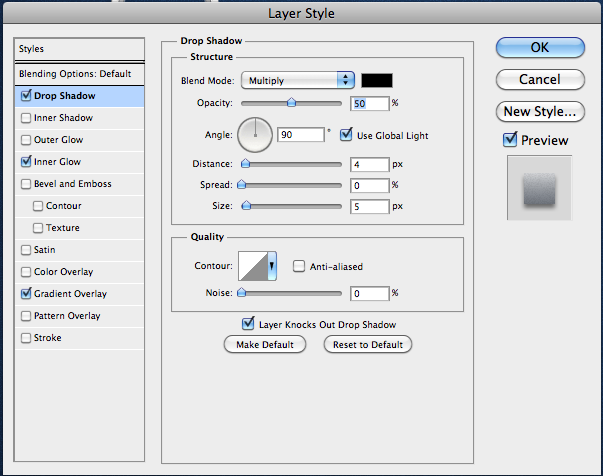
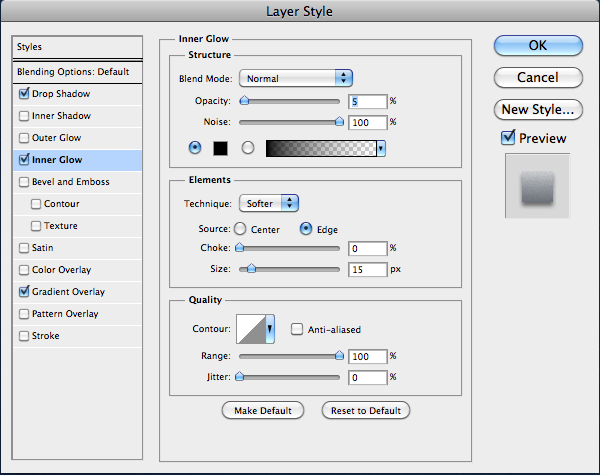
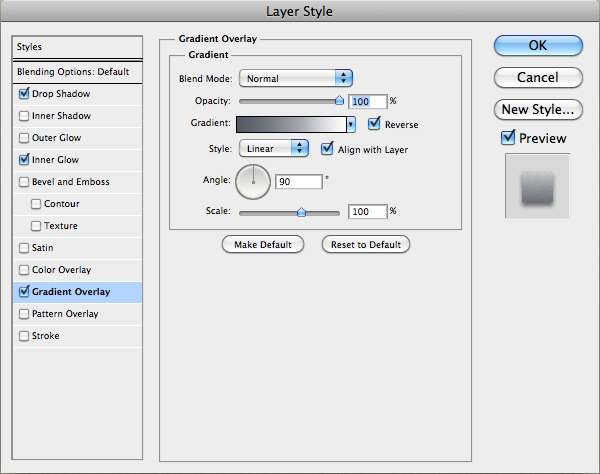
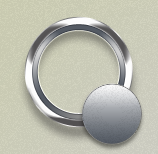
Next, using the Ellipse tool, click and drag your mouse while holding the Shift key to create a round circle. Then add the following layer style effects:
Step 11
Your outcome should look something like this:
Step 12
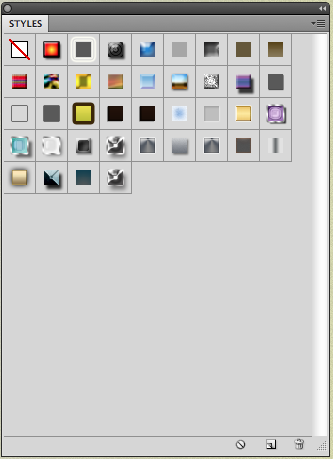
Now still using your Ellipse Tool, hold shift and drag your cursor to make a large round circle. Name this layer "Outer". Remember the FIRST Layer Style we made for the outer hoop ring? For the large circle, we'll be using it again. To access that Layer Style and use it for this layer, make sure your large circle layer is selected and then go to Window > Styles. A little panel should open up. Scroll down to the bottom and select the layer style effect that you made earlier. It should be the second to last icon.
Step 13
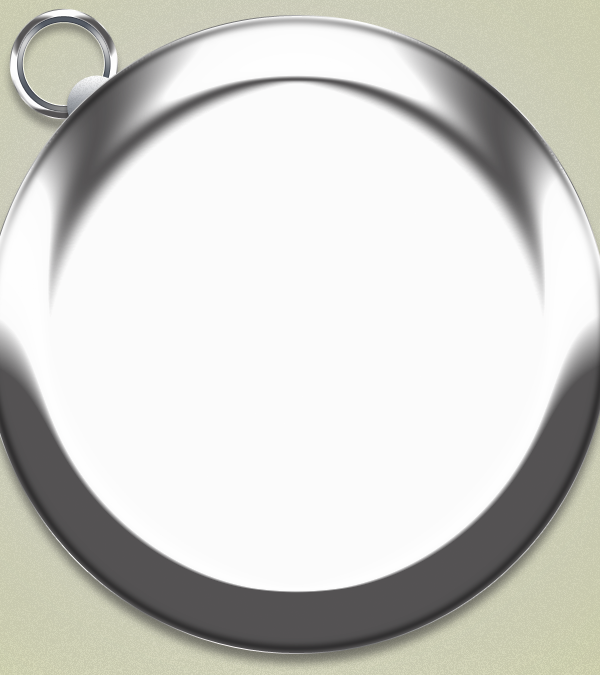
Duplicate this "Outer" layer and shrink it. Then apply the SECOND layer style effect we saved. You should now have something like this:
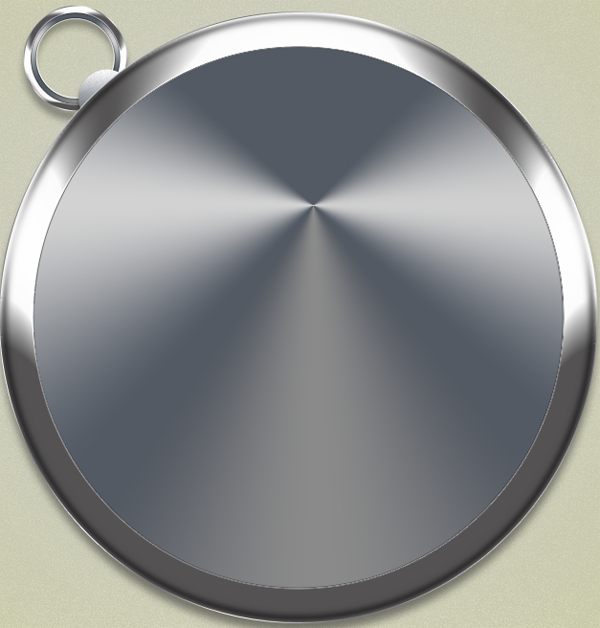
Step 14
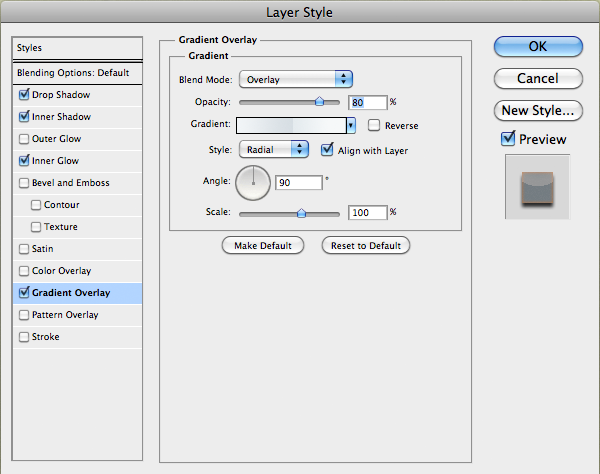
Make a new Ellipse Tool (U) and apply the following settings in the Layer Styles window:
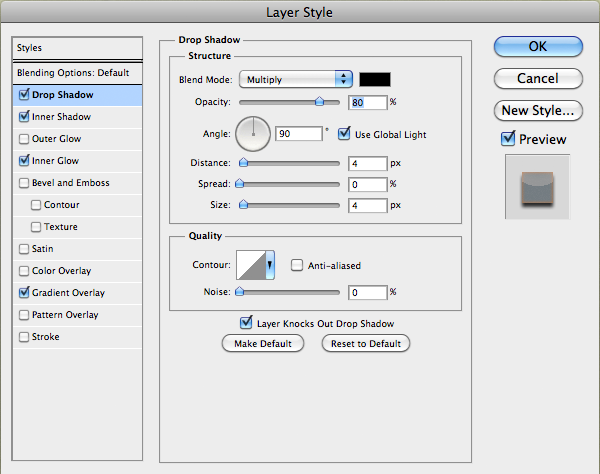
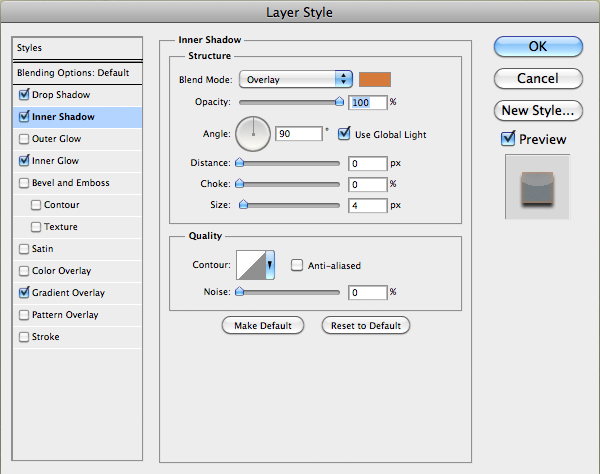
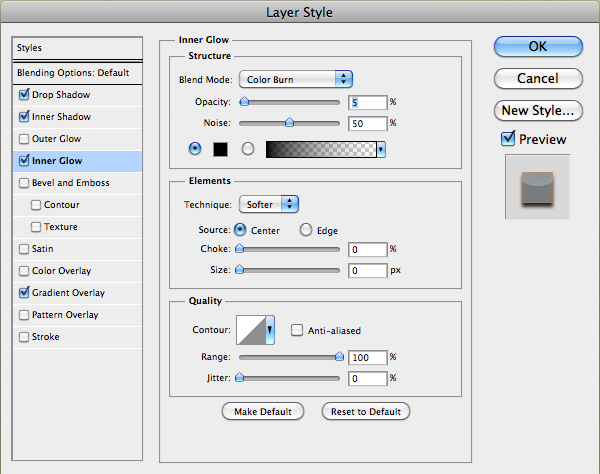
Step 15
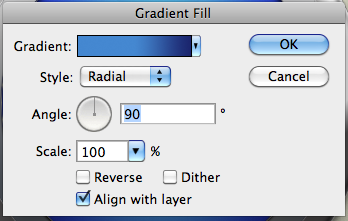
On that same layer, add a gradient fill.
Step 16
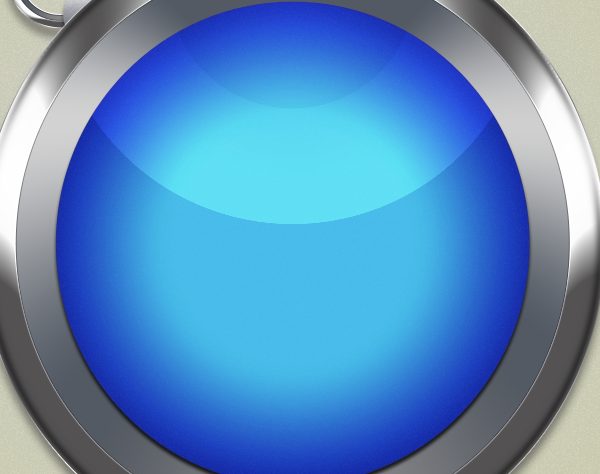
Now, rename the layer "Base". You should have the following effect thus far:
Step 17
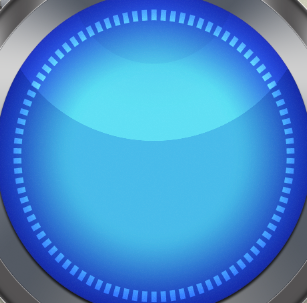
This next step requires a lot of concentration and patience. Grab your Rectangular Marquee Tool (M) and make a small rectangle inside the blue part of our icon and fill it with white. Then duplicate the layer and rotate it slightly. Do this until you have a full circle. Then set the layer mode to Overlay.
Step 18
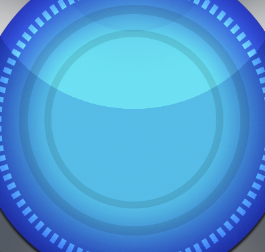
Inside the middle of the document, we'll use our Circle Thin Frame again to create two circles. Merge the two shape layers together and rename the layer to "Middle Circles". Set the Fill to 10%.
Step 19
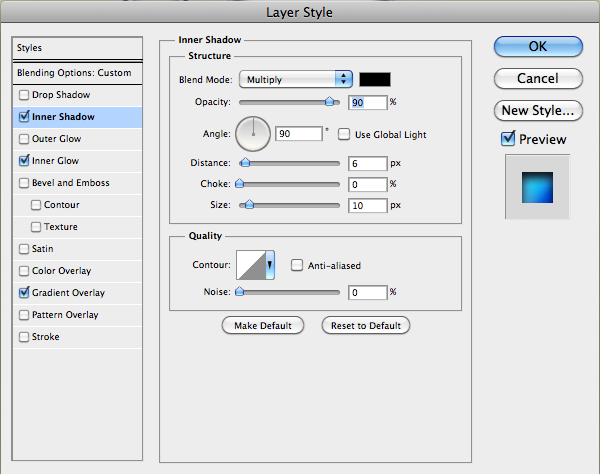
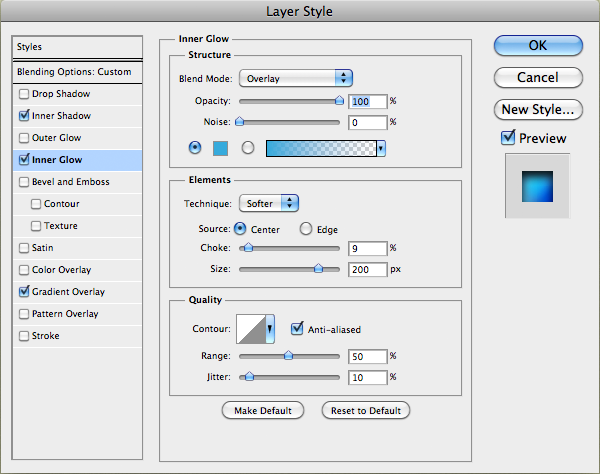
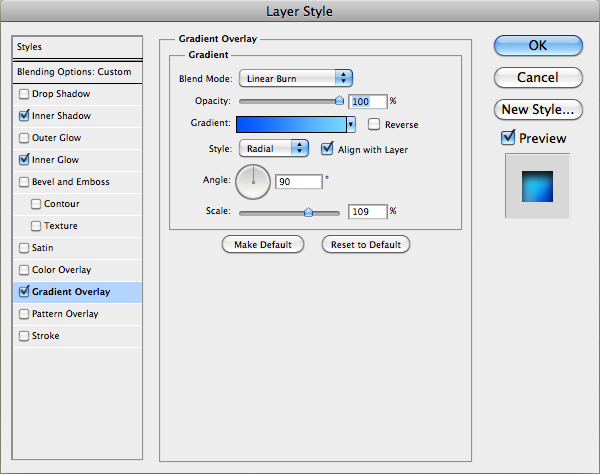
Use your Ellipse Tool to make a circle the same size as the "Base" circle. Name the layer "Inner Base" and apply the following:
Step 20
Use your Ellipse Tool to make another circle the same size as the "Base" circle, name it "Inner Base " and apply the following:
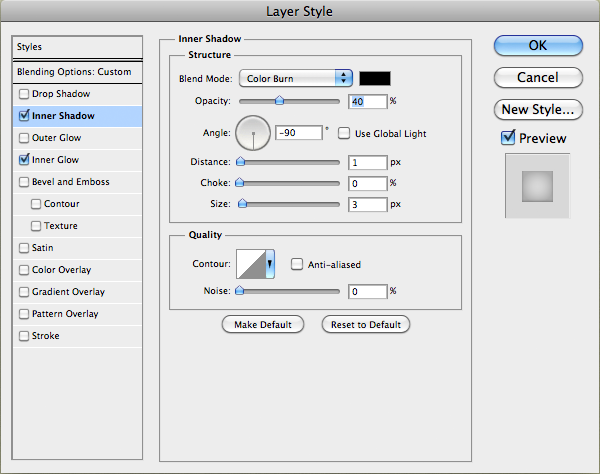
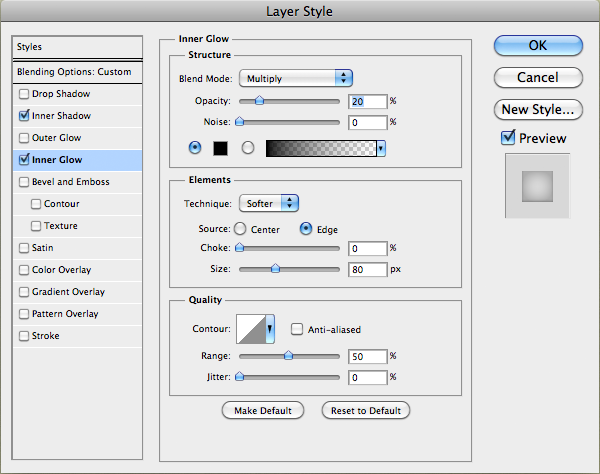
Step 21
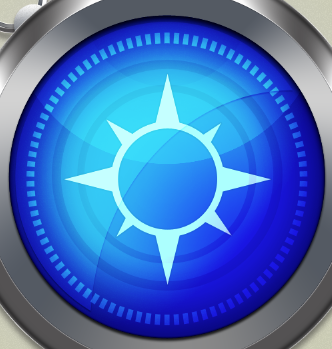
In this tutorial, I created a compass rose on Photoshop. You can either create your own or find one. I put both the Opacity AND Fill at 65% and the Mode at Linear Dodge (Add). Then I added the following settings in the Layer Styles window.
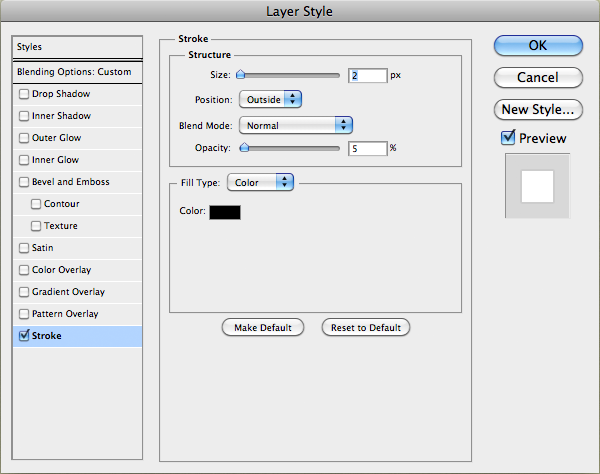
Step 22
Your result should look like this:
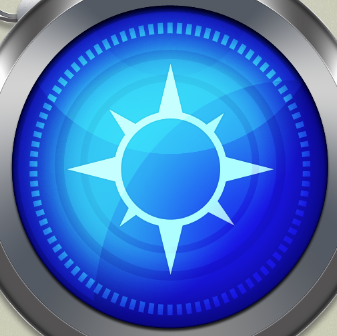
Step 23
If you want to add any more gloss effect, you can. In this case, I added a nice gloss which I created by combining several shapes to create a shape similar to the moon's. I then set its Fill to 65% and added a drop shadow.
Step 24
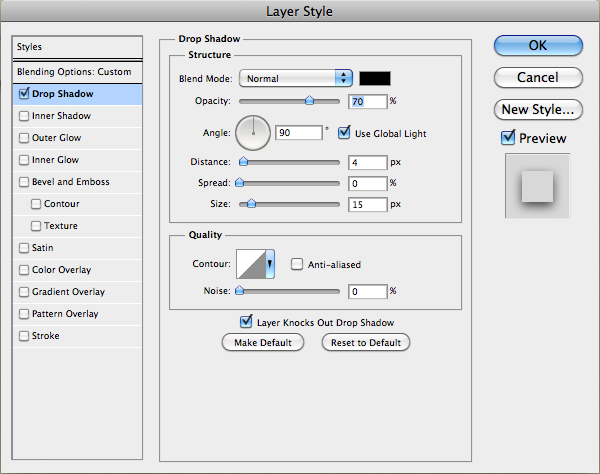
We're almost to the end of the tutorial! Now it's time to quickly work on the needle. What I did was create the shape of a compass needle. Then I applied the following effects in the Layer Style window.
Step 25
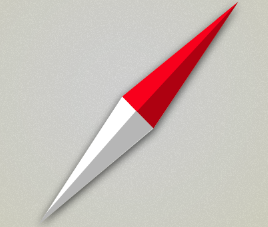
Next I made individual shapes for each side and section of the needle.
Step 26
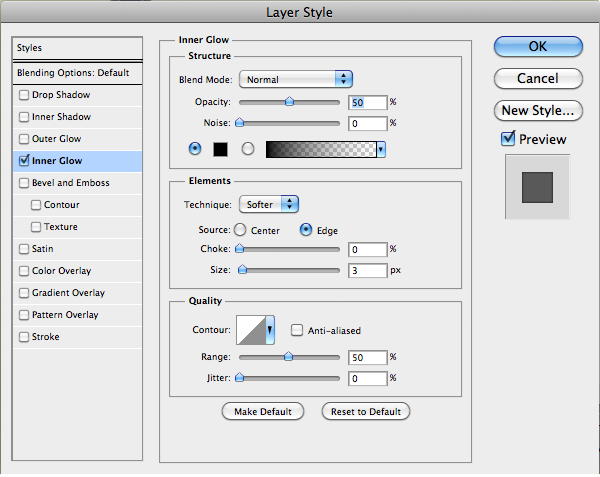
Make a small circle on the middle of the needle and apply the following:
Step 27
Make another circle inside of the previous one and apply the settings below.
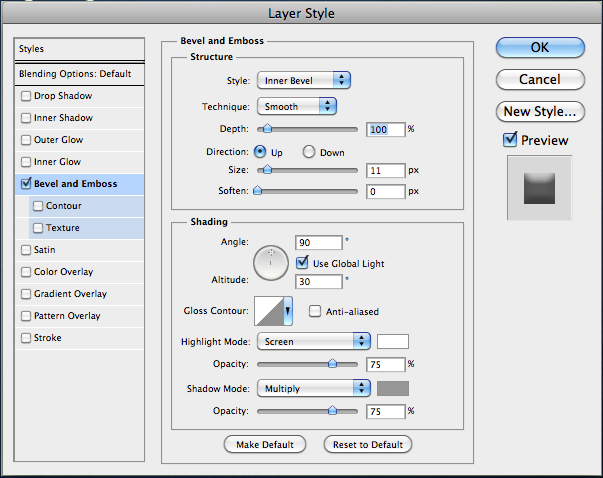
Step 28
Here's what it should look like.
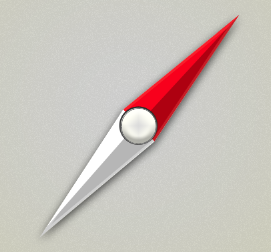
Final Results
Tidak ada komentar:
Posting Komentar